Installing your
personally designed system

Step-by-step installation support

The information below is intended to help guide you through the installation of The Everyday System that you have designed yourself. 

The fastest and easiest way, is to assemble and install each component by following the Order of Installation. If one of the components on the list is missing, it’s because your custom-created system didn’t include that component – but that’s no problem! Simply skip to the next component listed.

The Everyday System™ Full Installation Guide

  • Download installation guide here.
  • View installation videos here

Gather your tools

  1. Painter's tape
  2. Measuring tape
  3. Pencil
  4. Level
  5. #2 Phillips screwdriver
  6. Wrench

Order of installation

  1. Prepare your space
  2. Uprights
  3. Shelf Brackets
  4. Standard Shelf
  5. Long Shelf
  6. Shoe Shelf
  7. Drawer Cabinet
  8. Bin Cabinet
  9. Mesh Door Cabinet
  10. Media Cabinet
  11. Desk Unit
  12. Closet Rod

Uprights

  • Download installation guide here.

Shelf Brackets

  • Download installation guide here.

Standard Shelf

  • Download installation guide here.

Long Shelf

  • Download installation guide here.

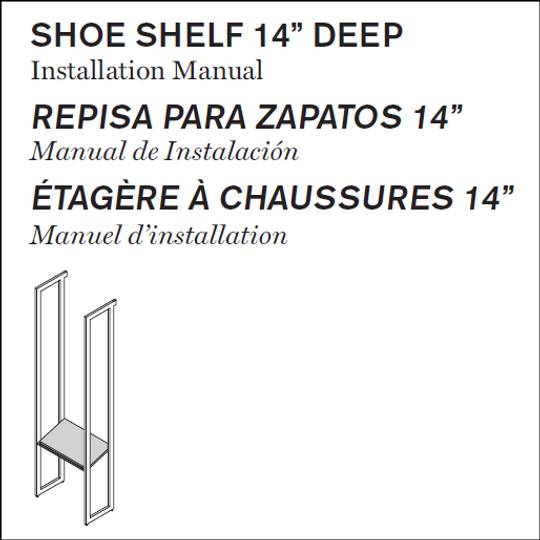
Shoe Shelf 14" deep

  • Download installation guide here.

Shoe Shelf 20" deep

  • Download installation guide here.

Cabinet with 3 Drawers

  • Download installation guide here.

Cabinet with 2 Drawers

  • Download installation guide here.

3 Bin Mesh Cabinet

  • Download installation guide here.

Mesh Door Cabinet

  • Download installation guide here.

Media Cabinet

  • Download installation guide here.

Desk Unit

  • Download installation guide here.

Closet Rod

  • Download installation guide here.